App Overview
Robotic process automation (RPA) is a method for building, deploying, and managing software robots that emulate human actions and interact with digital systems. Robots can do the same things as people, such as understand what's on a screen, type the right keystrokes, navigate systems, identify data, and extract it. In contrast, software robots can do it faster and more accurately than people.
BotPath is a robotic process automation Software (RPA) developed by 500apps that helps in enhancing your organisation's productivity by creating and deploying bots that extracts data from web for you sales and marketing fucntions.
Getting Started
Go to 500apps suite > Productivity > BotPath
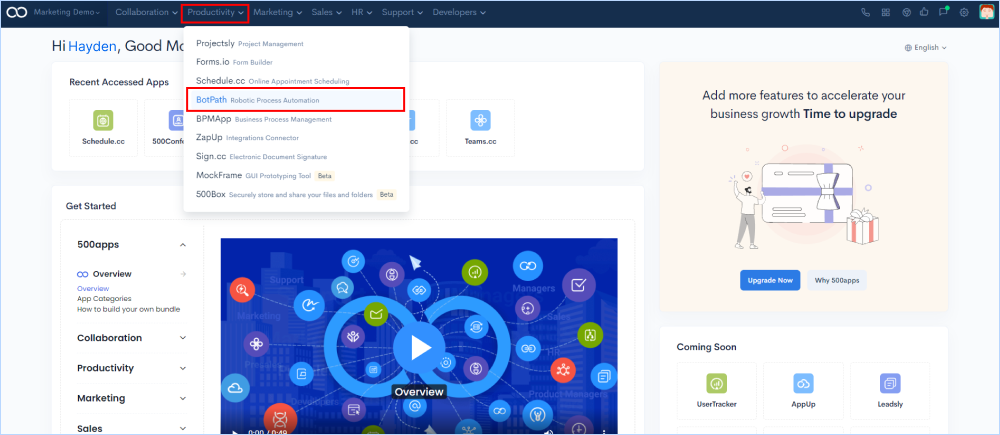
Installing BotPath's Chrome Extension
When you open BotPath, by default you will get a popup window of the chrome extension to install. You need to install the chrome extension to scrape data from any data using bot by recording every action.
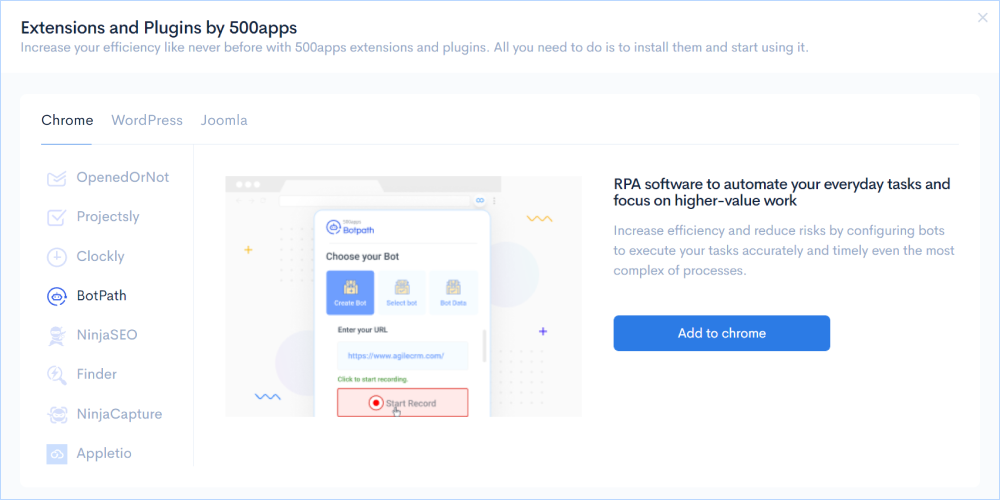
How to Create Bots for Process Automation?
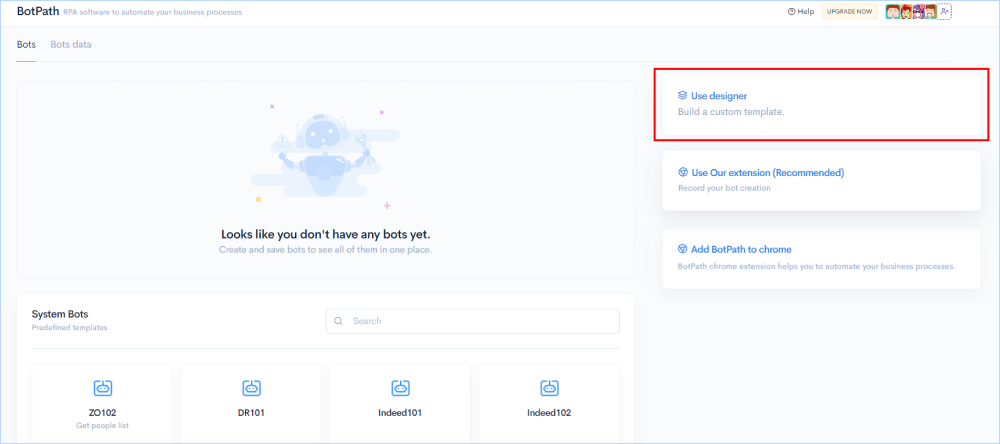
You can use BotPath to create intelligent bots that scrape web data for specific purposes using rule-based automation. You can either create custom bots by your own or you can select from a array of pre-built templates to save time. Here are the different ways to create bots for process automation.
Go to Bots in features tab > Click on the tab Use designer on the right side of the screen.
How to Access Predefined Templates?
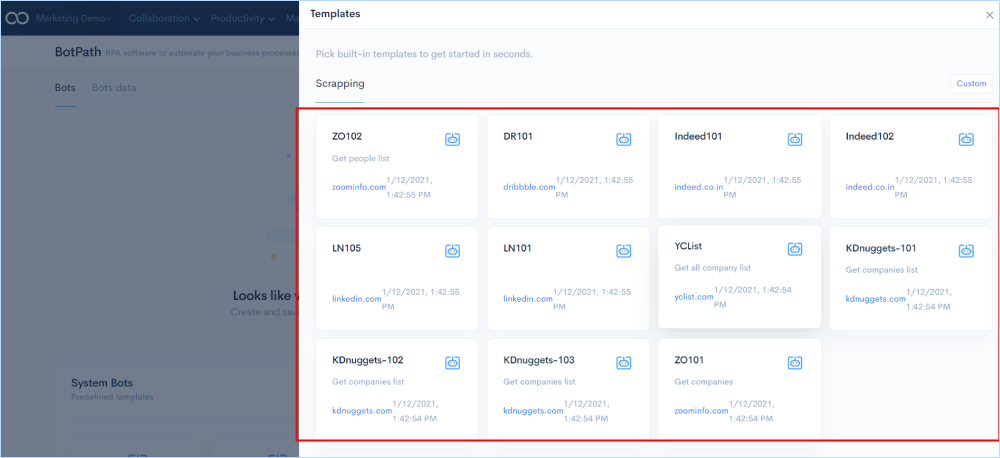
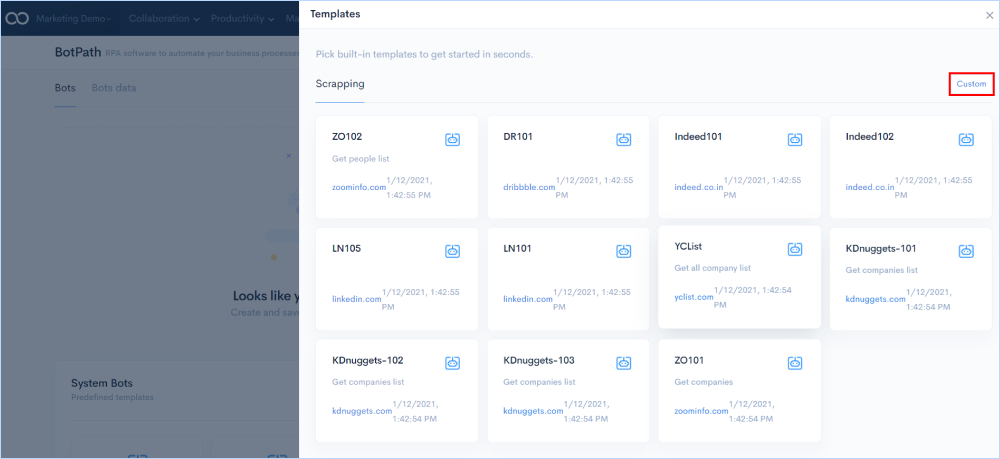
BotPath provides a set of predefined templates for data scraping from specific websites, reducing the time of creating one. You just need to select the one which allows you to scrape data automatically from the website. Once selected you will be taken to the workflow builder space where the flow has already been created using specific nodes. The flow can be edited if you wish to change any part of it.
Go to Bots > Use designer > Srapping
How to Build a Custom Bot?
Create your own bots from scratch by giving them rules to scrape data from specific websites using the workflow builder.
Go to Bots > Use designer > Custom
How to Use Workflow Builder for Creating bots?
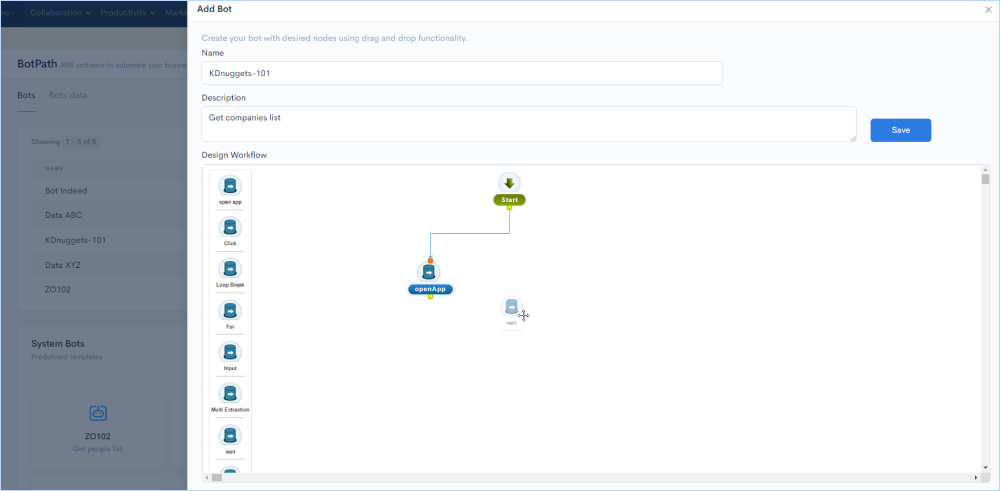
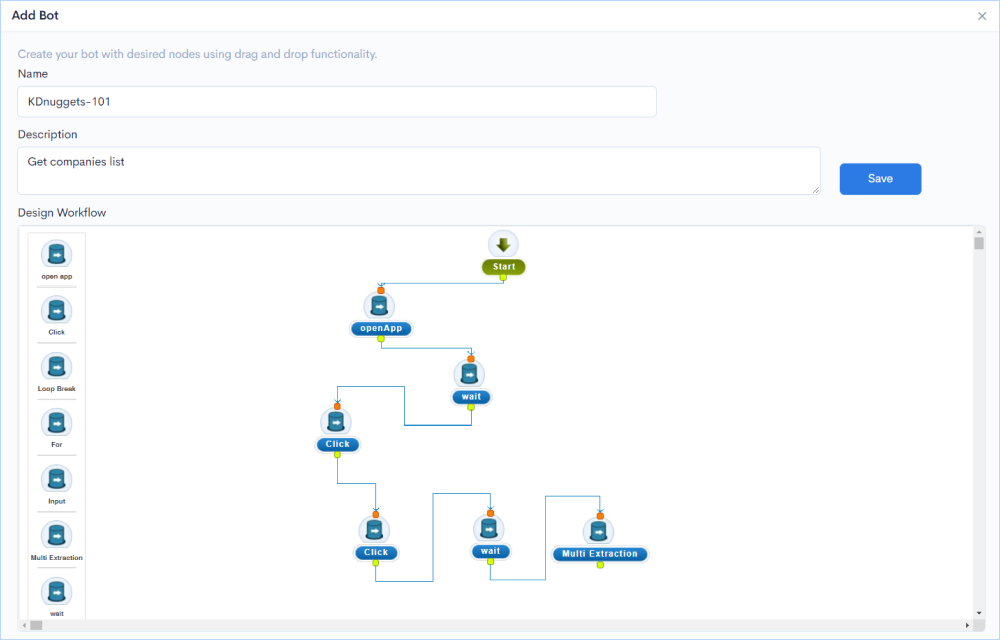
BotPath provides a comprehensive drag-and-drop workflow builder for creating bots that follow rules defined through nodes to scrape data automatically. The workflow nodes from the builder has specific fuctionality to perform, helping to build a bot that does the automation effectively.
Go to Bots > Use designer > Custom
How to Use Workflow Nodes?
Here are the different workflow nodes from the builder along with the steps on how to use them.
Open App Node
- This node is used to start the custom bot creation.
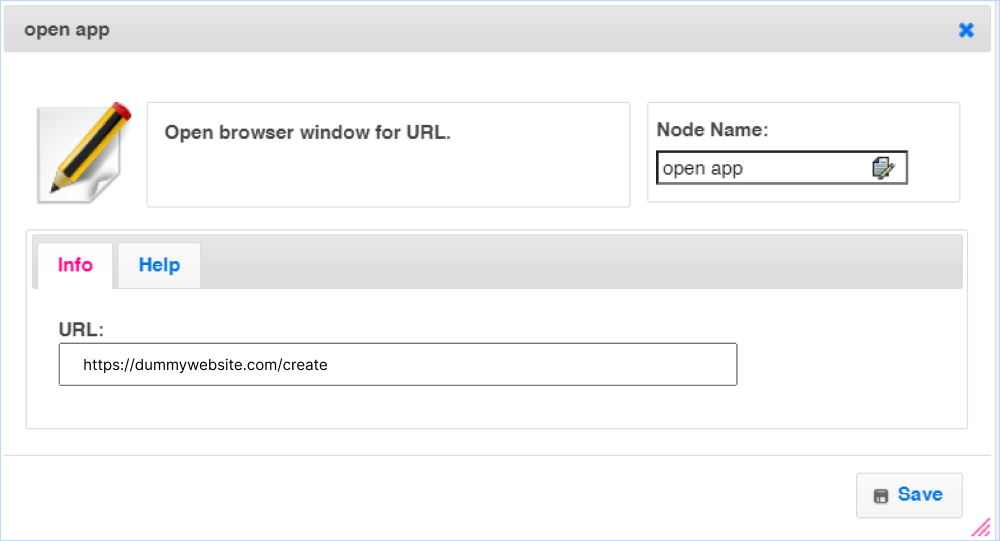
- The open app node is used To open a website or application in a new window by entering the website URL in that node, once this is a valid url the next node connected to the open app node will be executed. .
- Enter the website URL in the field and click on Save.
- For Example - We can open the browser with the given input.
Click Node
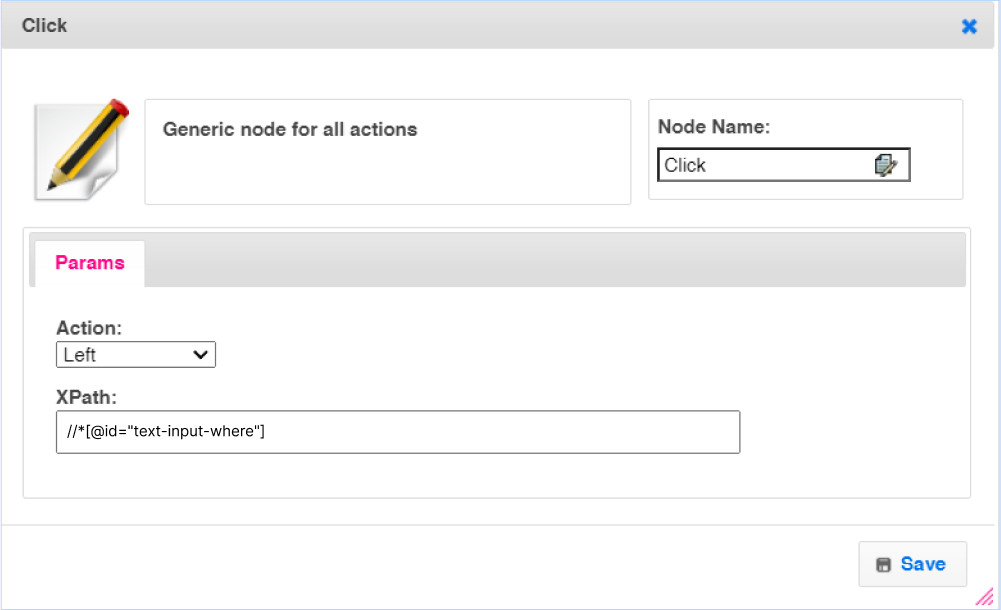
- This node is used to perform left click - for this we need to provide the X-path of that particular element where we need to execute the left click action
- This is mainly useful to perform left click actions like submit, button click, module clicking etc.
- Click on the Click Node node
- Enter the X-path and click on Save.
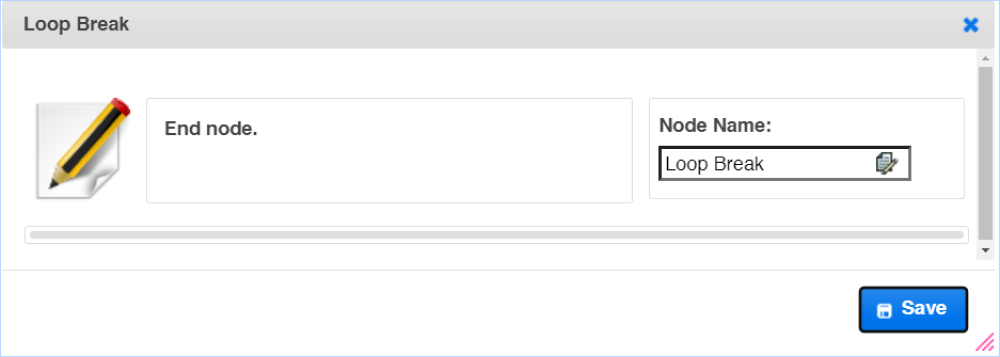
Loop Break Node
- It is used to terminate the looping operation and return to the next step.
- The nodes that are connected to next node will be executed after loop break.
- For Example- In Order to stop the for loop condition, we can use the Loop Break.
For Node
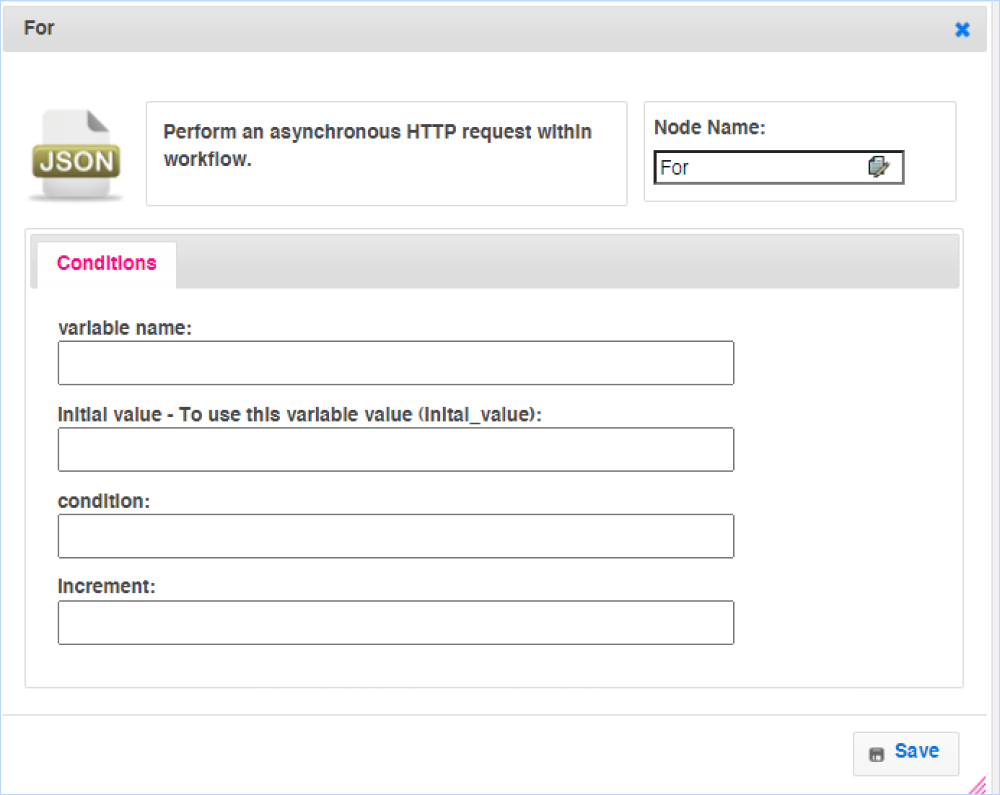
- This node is useful to repeat the loop with the same action
- For example: if we need to click on any button (example next) multiple times we can use a for loop
- Format to provide the input data for, initial value can be integer value ex:1, conditions like <8 or >=9 or >4 and increment be like integer 1 , 2 ... etc.
- Enter the variable name, initial values, conditions, and increment and click on Save
- This node can be used to extract the detailed data of multiple companies at once by repeating the click action in a loop.This loop will be repeated till the given condition is satisfied
Input Node
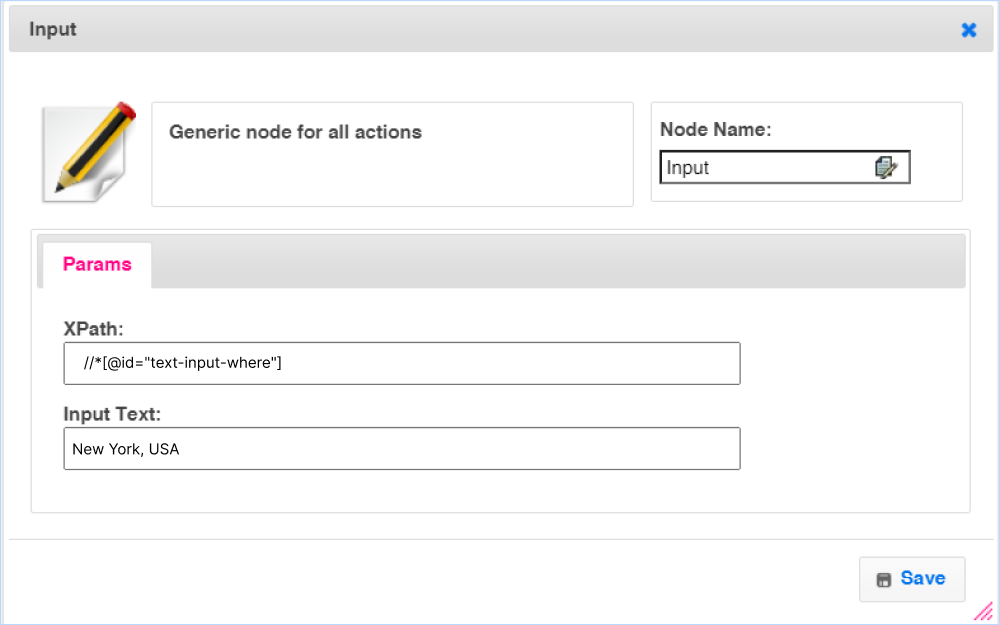
- This node is used only to enter the input data in the given field
- For example login details, search field data, fill any form, etc
- Enter the XPath and text to enter in the fields
- Click on Save
Multi Extraction Node
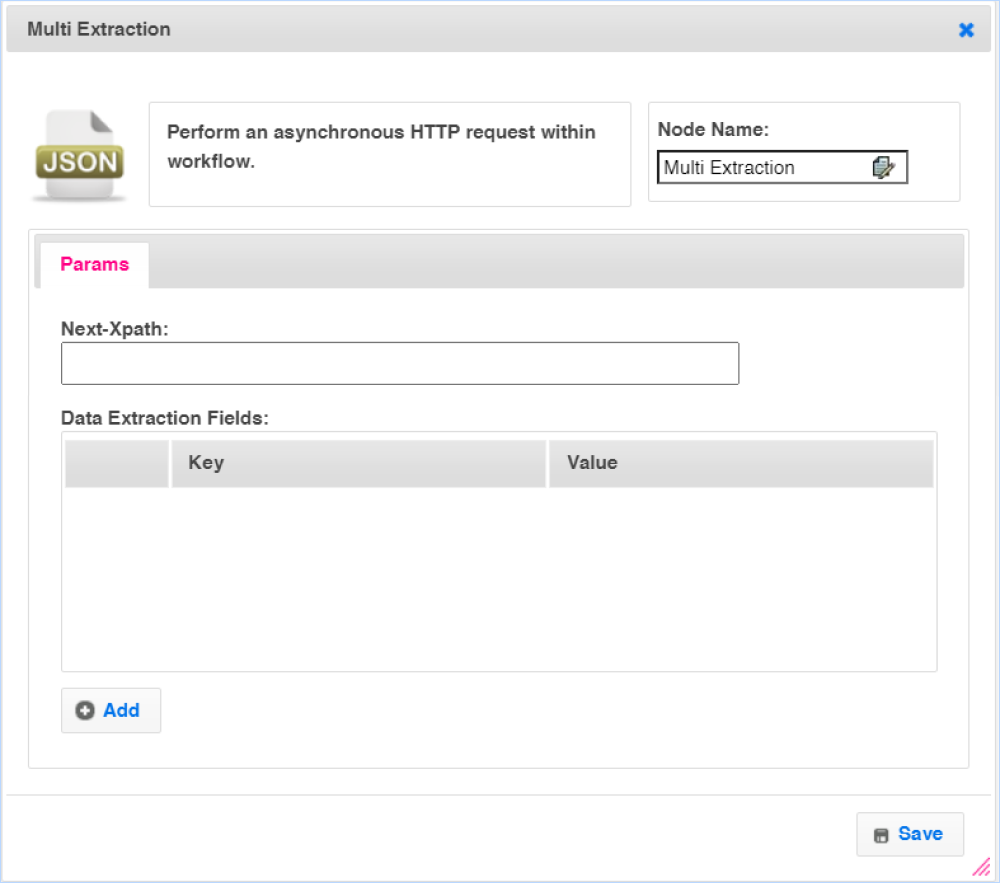
- This node is used To extract a similar type of data on a page
- For example: If a page has 10 records with the same XPath, by using multi- extracts at a time we can extract all the ten records. Enter the XPath and click on Add to enter the key details and value
- For example: If we need to click the next node we have to provide the next node xpath in the text-box with label Next-xpath and value pair, key can be any meaning full text and value is XPath of the extracted data. Here we can provide multiple key and value pairs
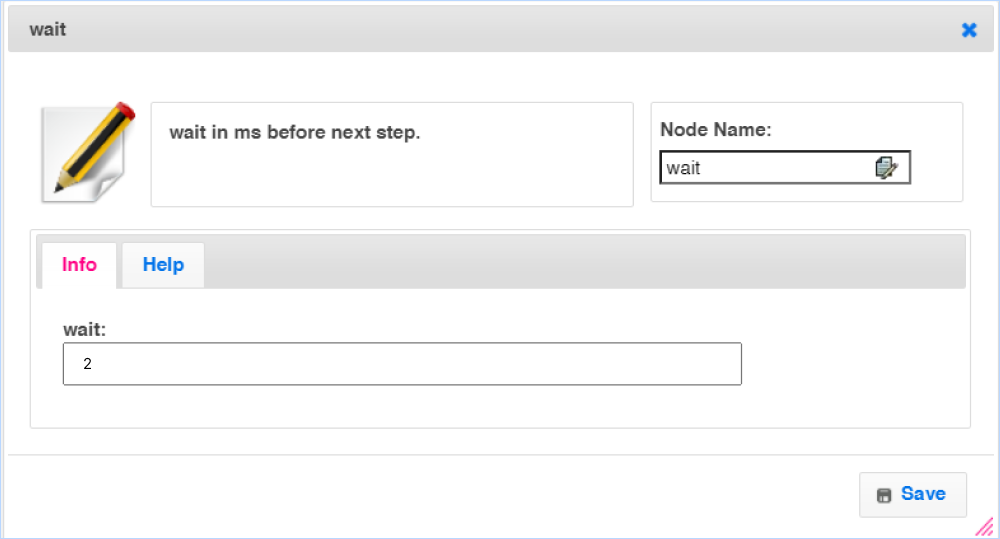
Wait Node
- It is used to give delay time in between two actions.
- Enter the wait time in milliseconds and click on save.
Single Extract Node
- Using this node we can extract a single record
- For example, we can extract a single contact's first name, last name, address
- Click on Add and enter the key and Xpath of the node and click on Save
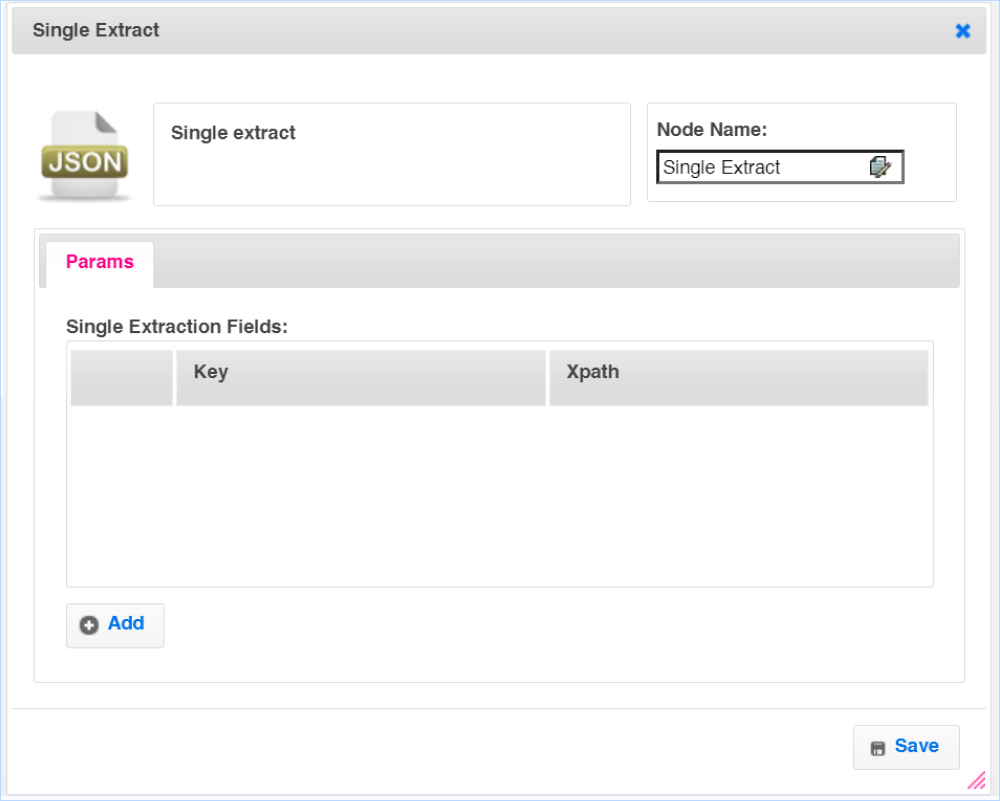
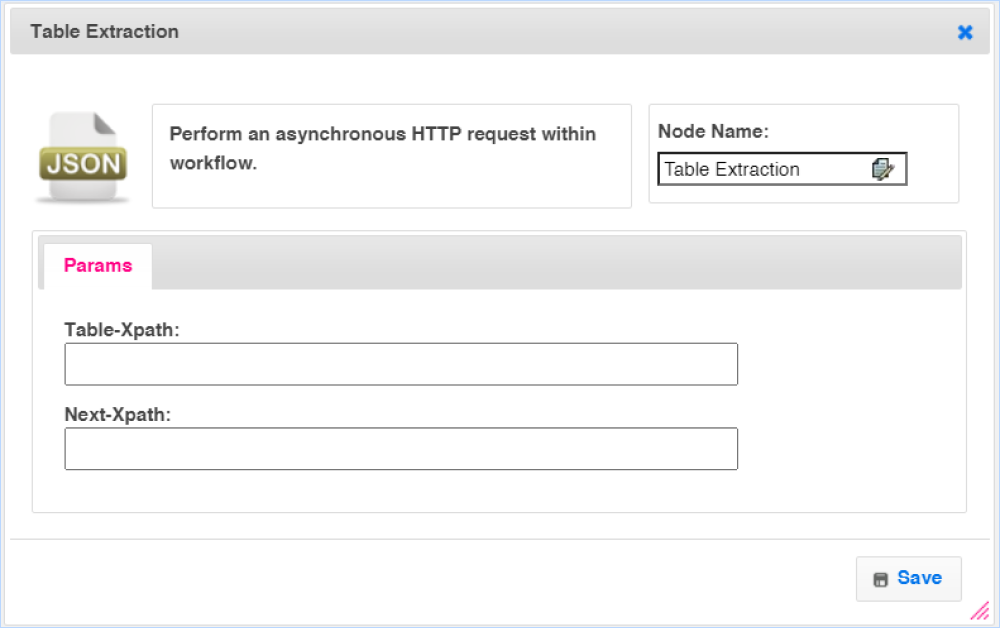
Table Extraction
- Using this we can extract the complete table information at a time by giving table XPath
- Enter the table XPath and click on Save and used to execute the next step also by adding the next button XPath in the field and clicking on Save
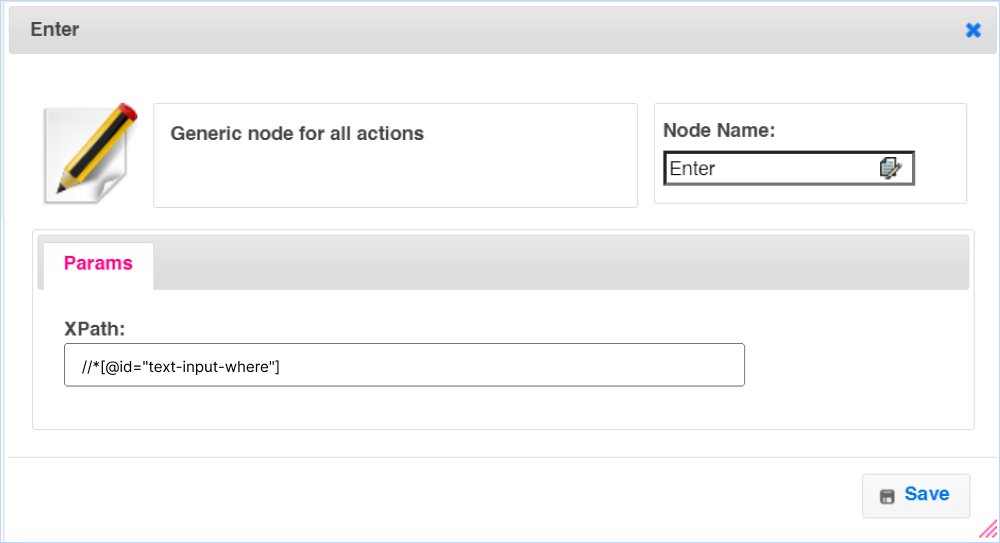
Enter Node
- This node is used to perform the Enter action
- We need to provide input as XPath of that enter action element in the field
and click on Save
- For Example: this can be used when there is no action button for any search field
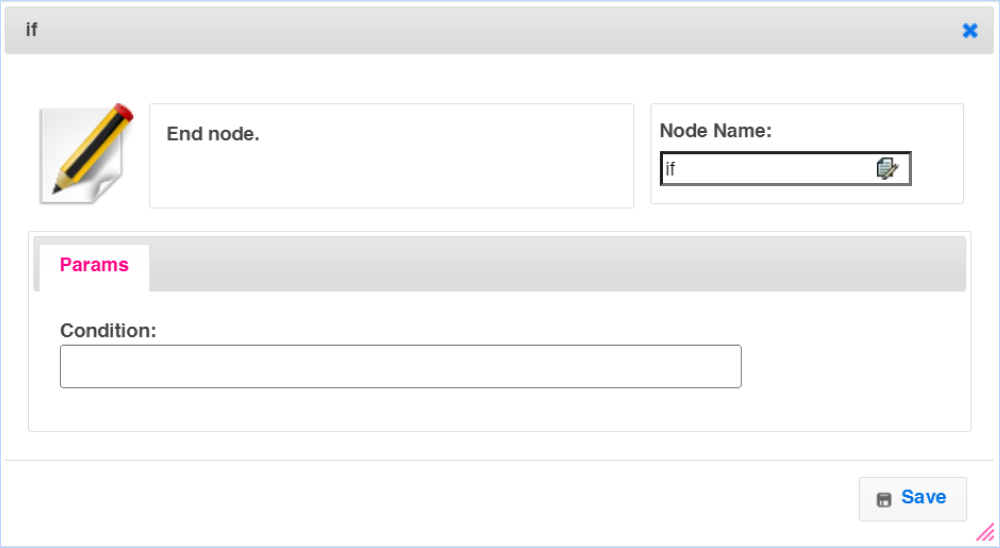
If Node
- This node is used to execute the if condition - if else condition
- This node is used when only the condition in if node matches then only the next step will be executed else the node will go with execute the else step
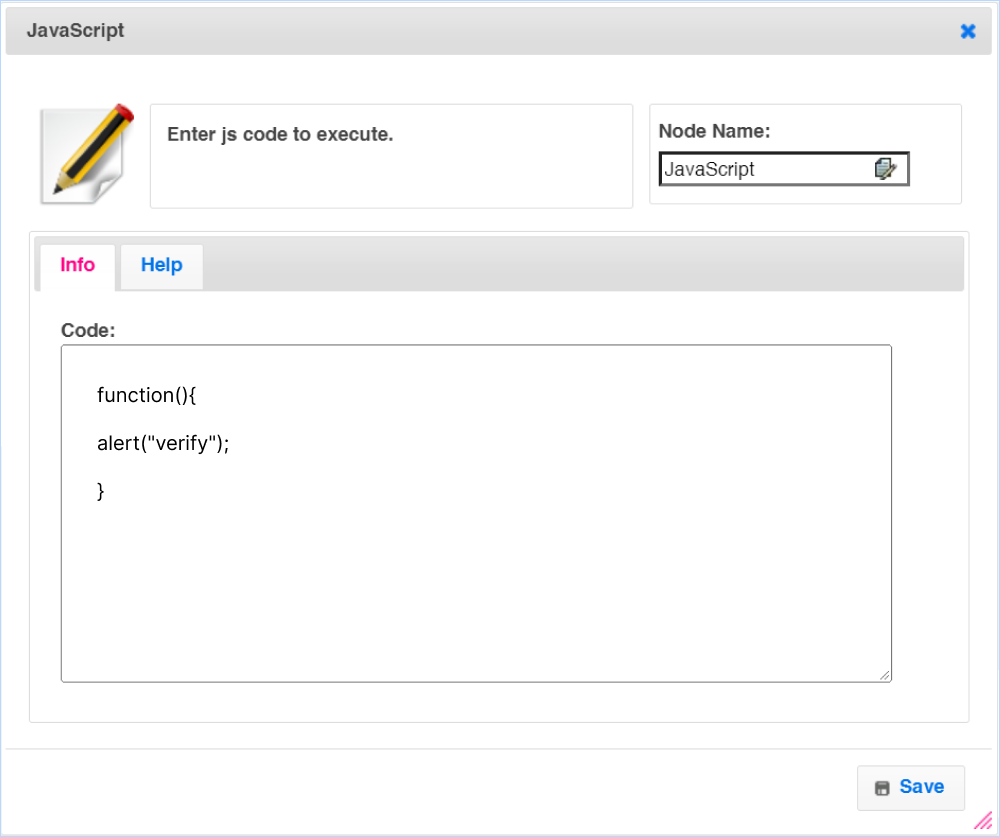
Javascript Node
- This node is used to write and execute the javascript code
- For Example: to click on the next button the user needs to scroll down to the page. The user can enter the scroll-down code using javascript in the field and click on Save*
- Example: The input data should be the function block
function(){
alert("verify");
}
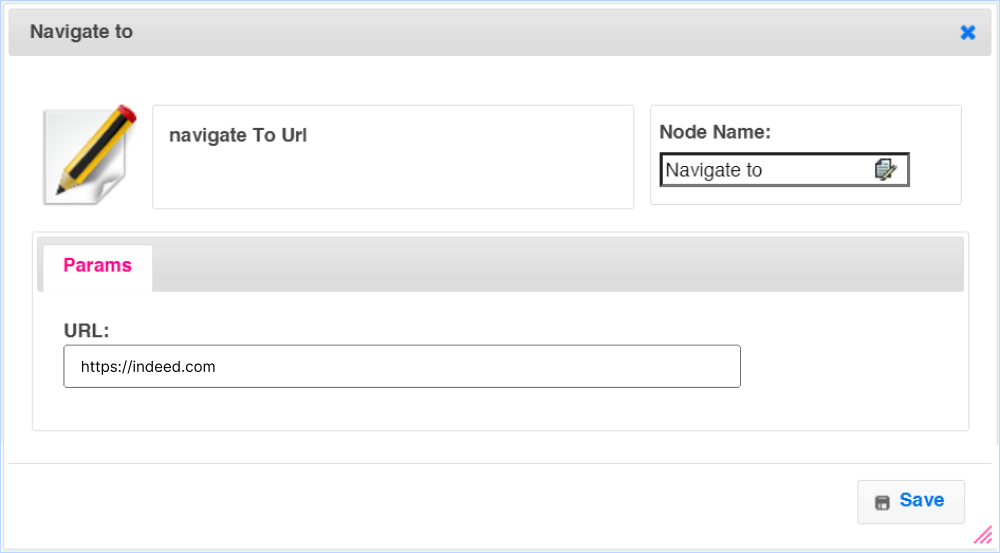
Navigate to Node
- It is used to navigate to the particular link
- Enter the URL of the link you want to navigate to in the field and click on Save
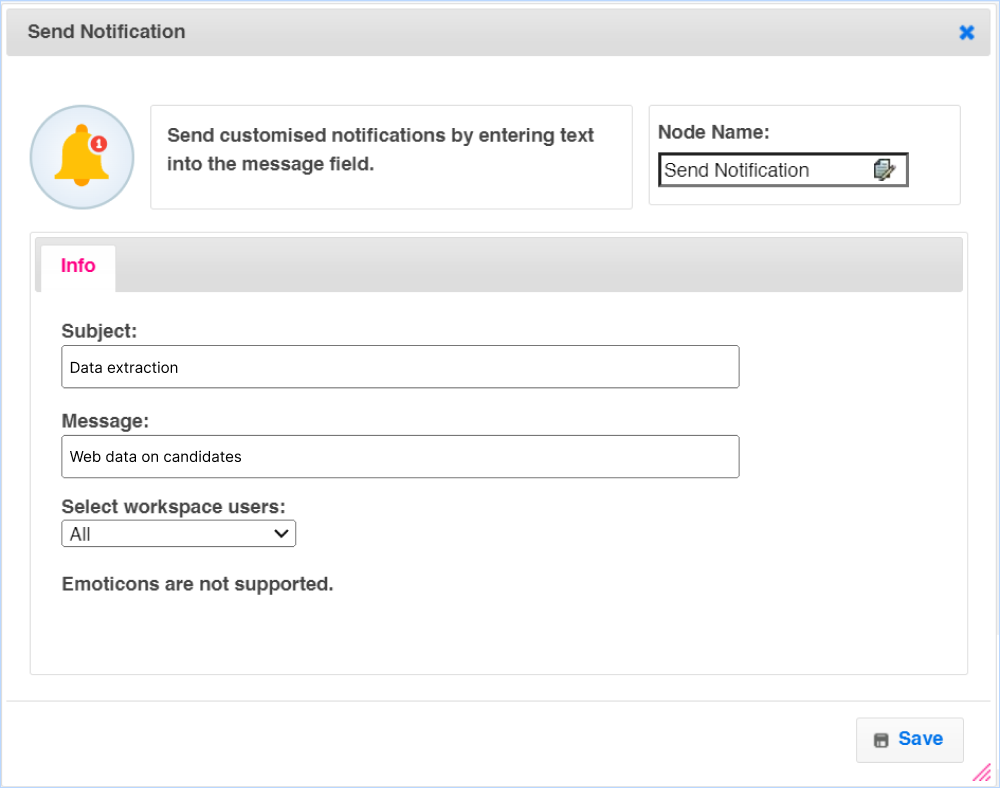
Send Notification Node
- You can use the Send notification node to send messages to all your workspace users about the data extracted or bot created.
- Enter the subject and the message for this notification you want your workspace users to see. You can also select which workspace users should see this message from the drop-down.
- After you are done creating the bot enter the name And description of the bot and click on save.
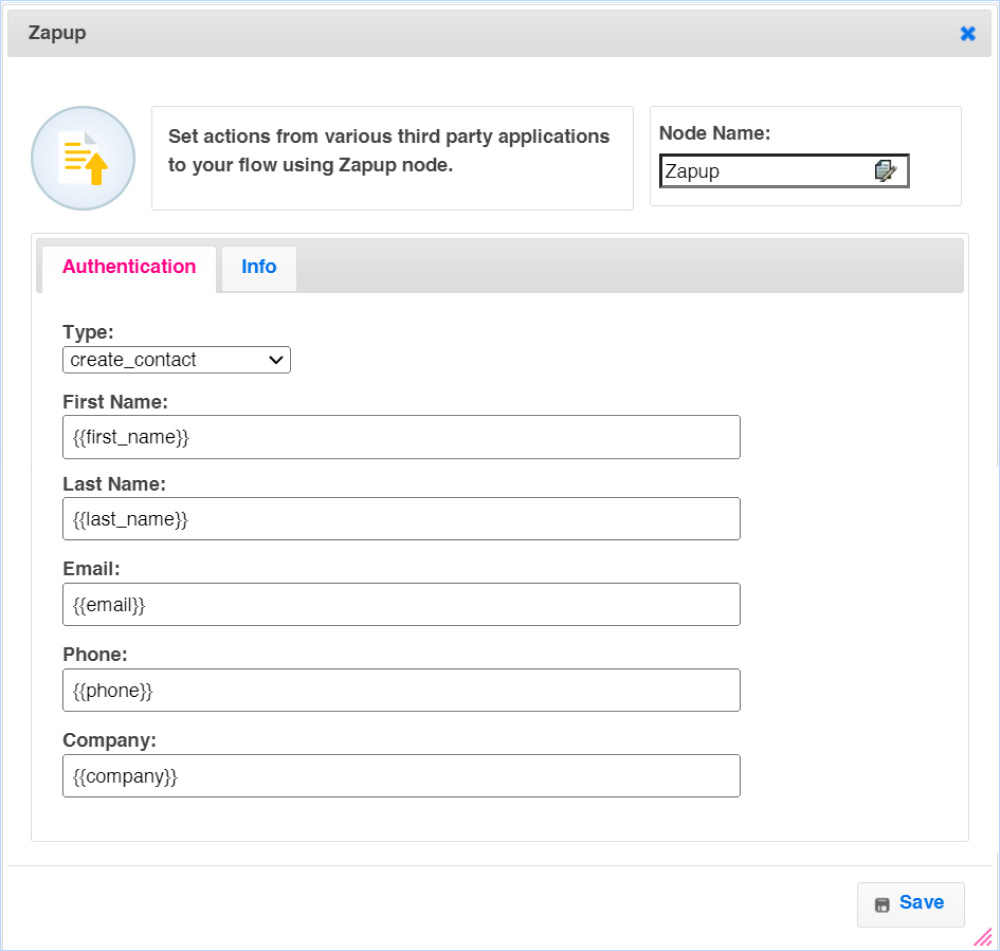
ZapUp Node
- ZapUp is a powerful app that we have built and is included in the subscription. You can find Zapup by 500apps under the Productivity category. Using this node, you can set up triggers in the workflow To integrate with third-party applications
- For example, Connect BotPath with your project management applications
- Create Project Name and description directly to your project management applications automatically
- You can select the actions from the dropdown and enter the required fields and click on Save
How to Scrape Web Data Using Bots?
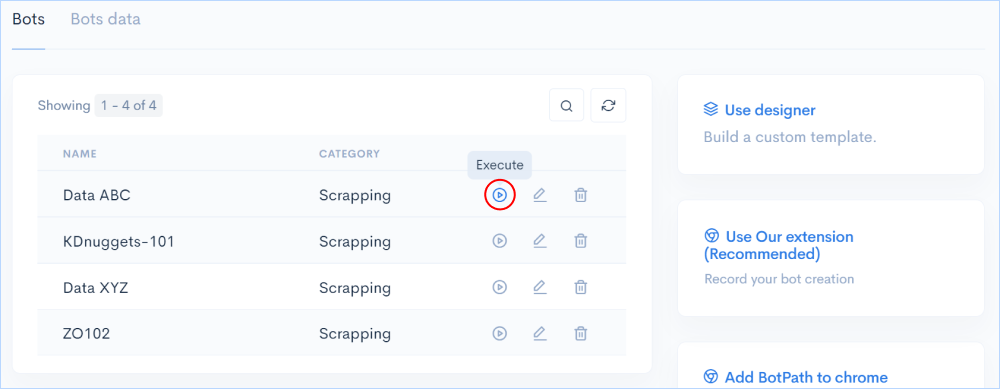
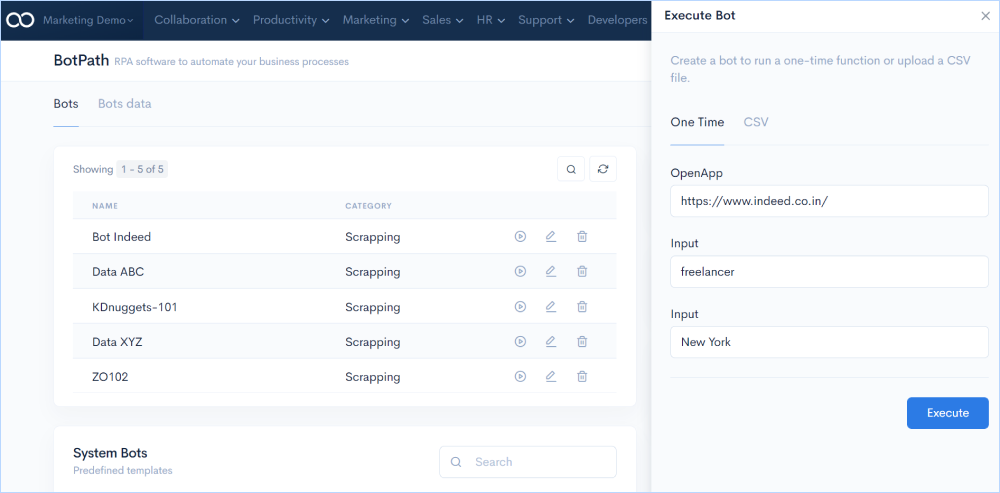
How to Scrape Data Using Custom Bots?
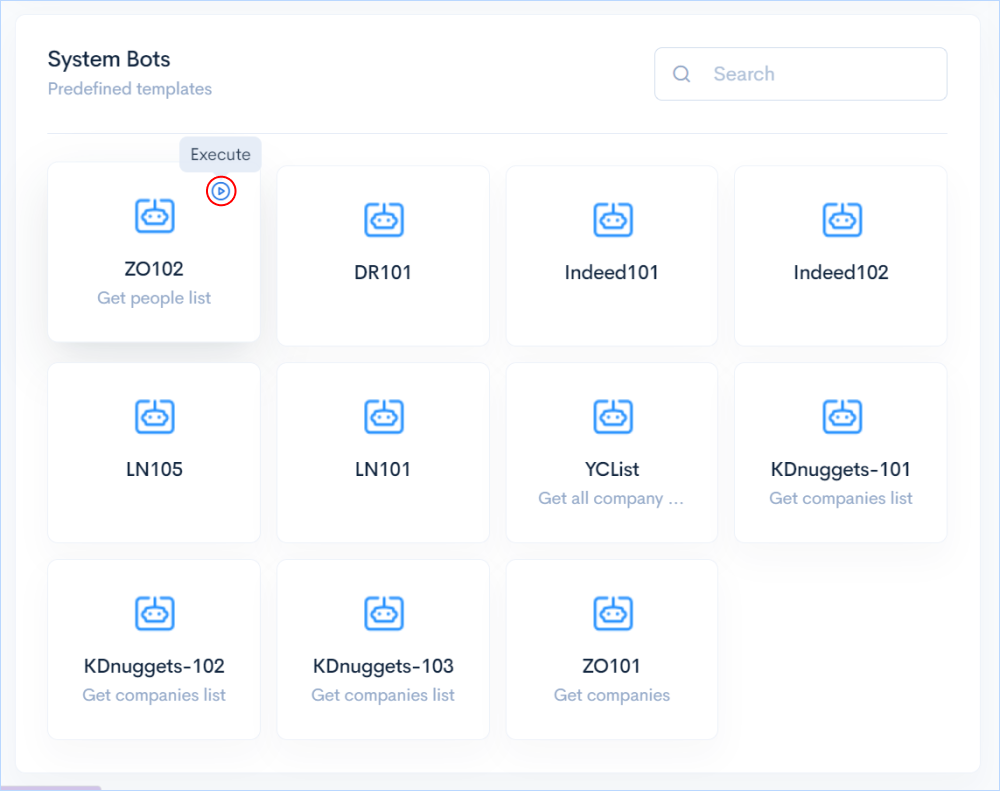
How to Scrape Data Using System Bots?
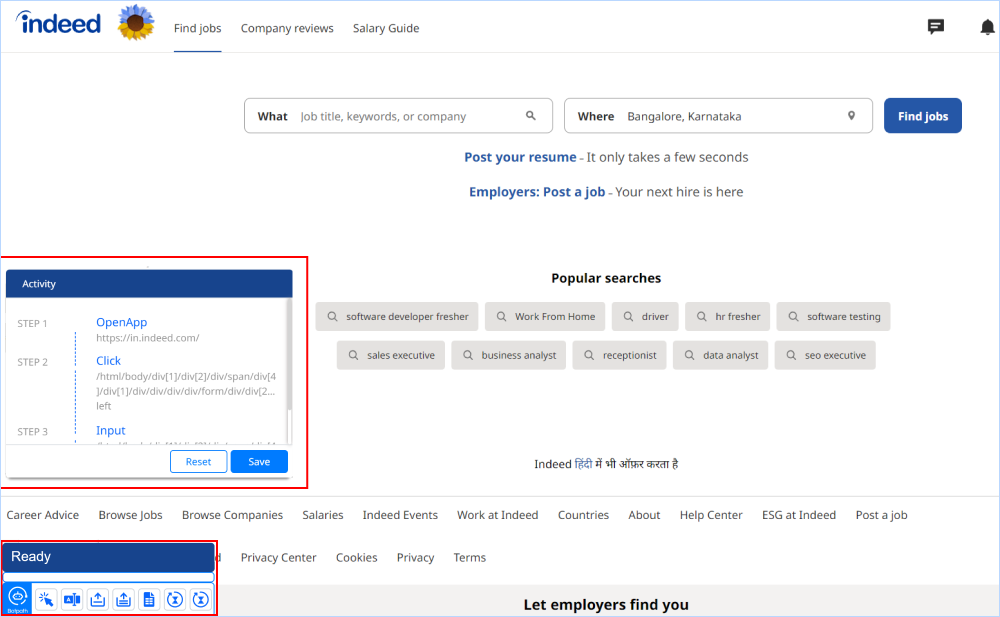
How to Record Bot Creation?
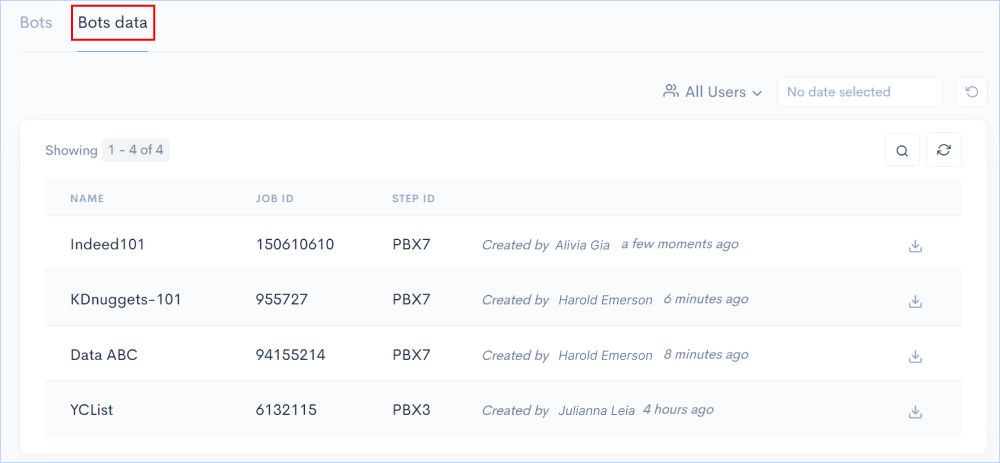
How to Access Bots Data?
All the data scraped and extracted from the websites using the bots are stored in this section.
How to filter data?

How to Download Data?


